From Concept to Creation: Designing Your Own CS2 Skin
Unleash your creativity and make your mark in Counter-Strike 2 with a custom-designed weapon skin. This guide will walk you through the process of conceptualizing, designing, and bringing to life your very own unique and stylish CS2 skin using our customization tools.
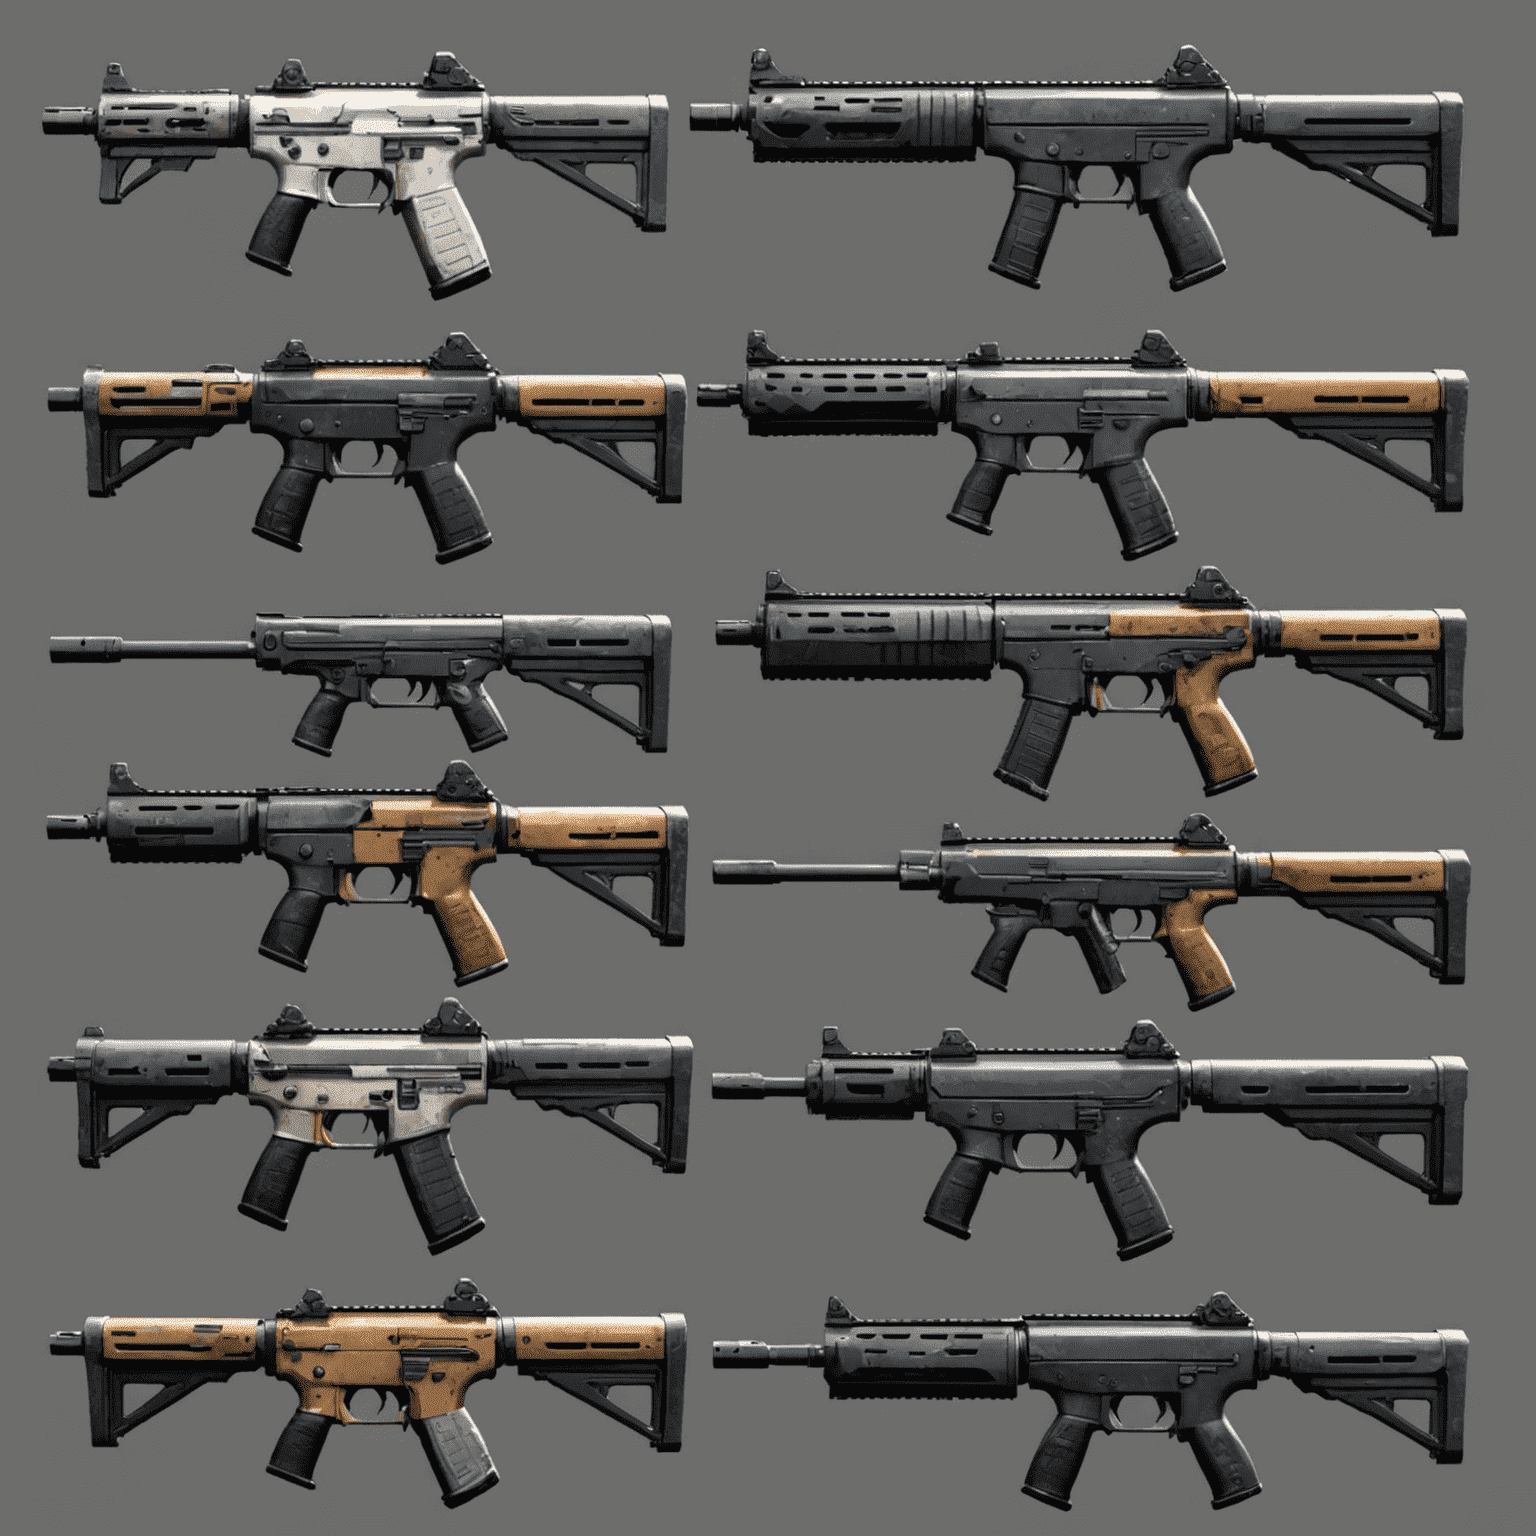
1. Conceptualization
Begin by brainstorming ideas for your skin. Consider themes, color schemes, and patterns that resonate with you or reflect your personal style. Think about what makes a skin stand out in the game and what you'd like to see on your weapon.
2. Sketching Your Ideas
Start with rough sketches of your concept. Don't worry about perfection at this stage; focus on getting your ideas down on paper. Experiment with different layouts and elements to see what works best.
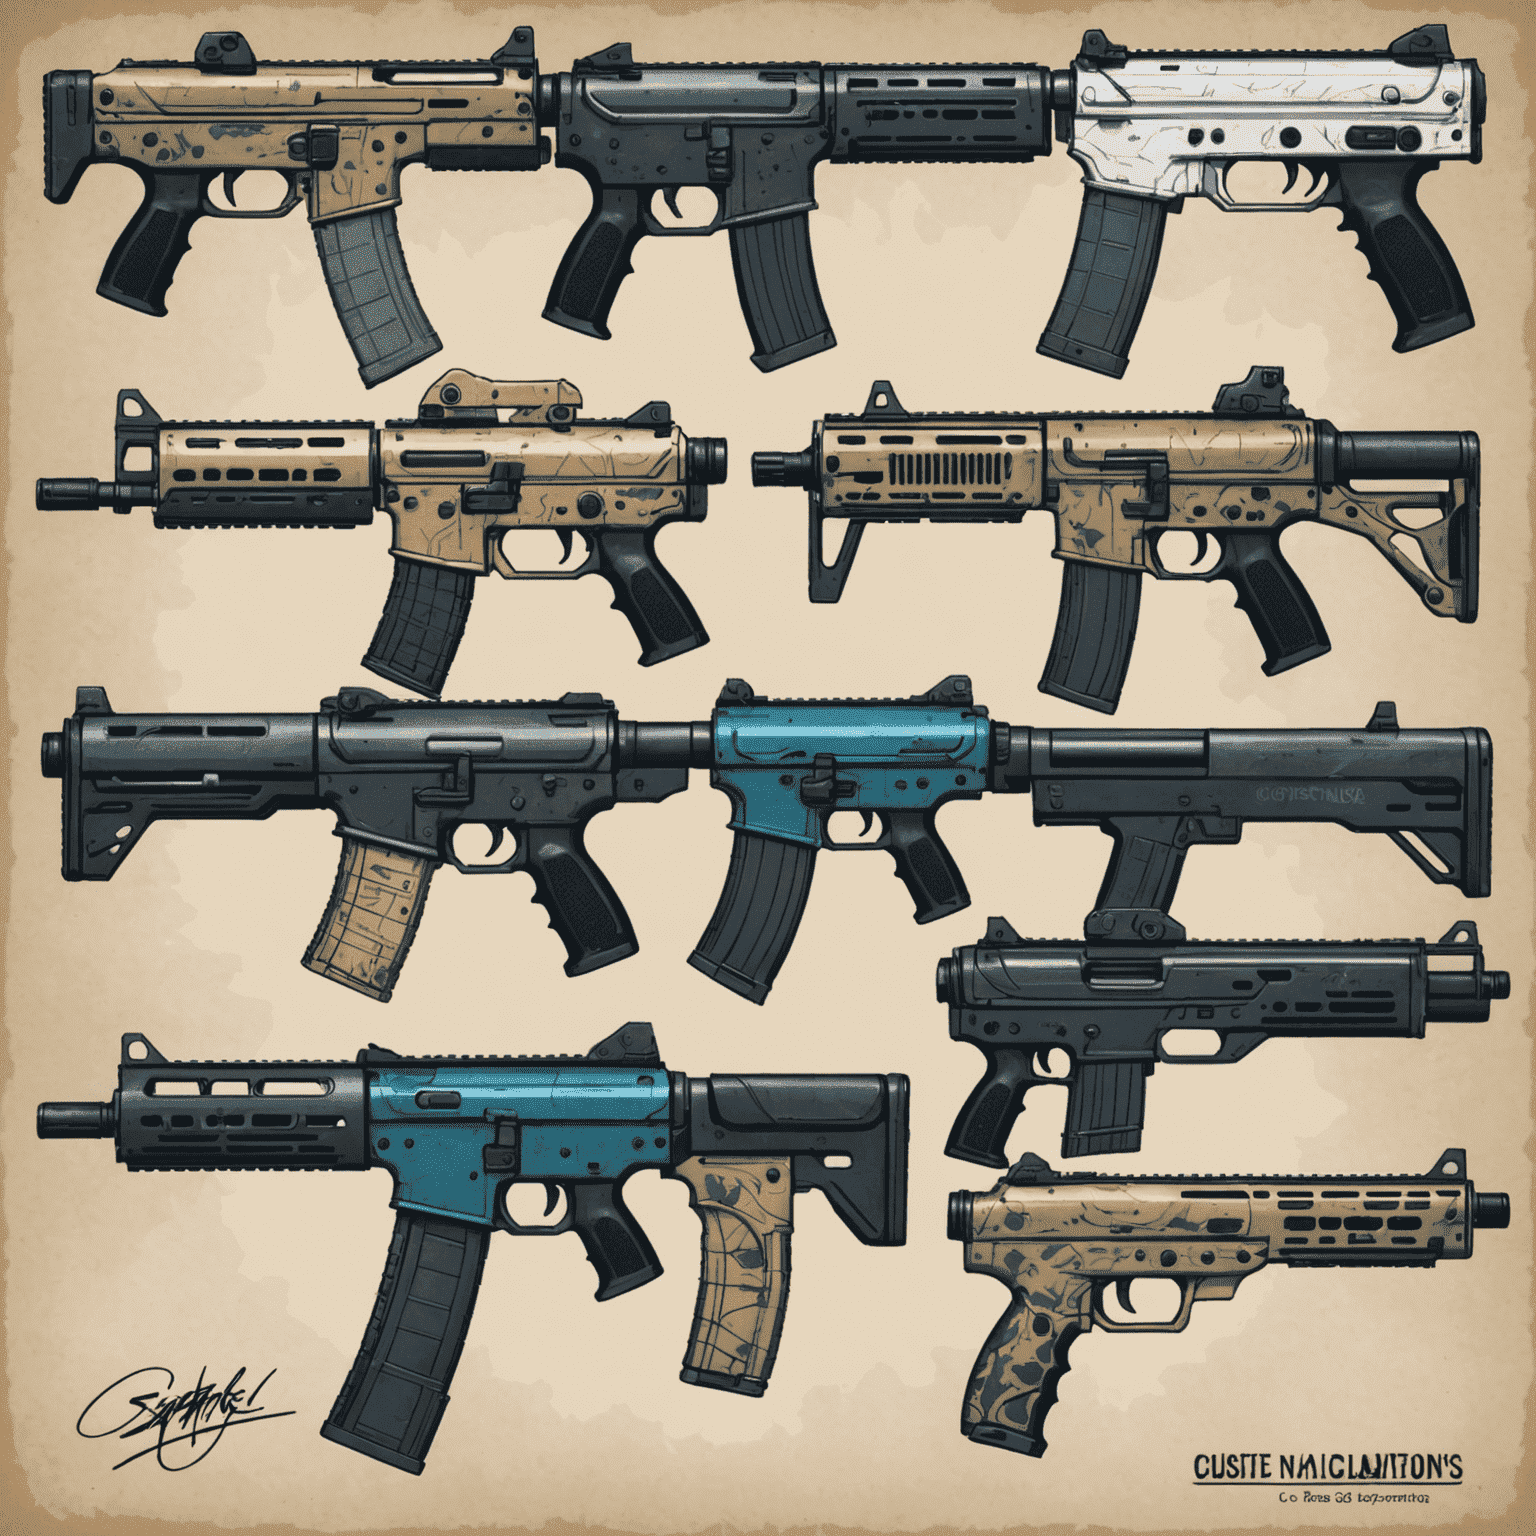
3. Choosing Your Color Palette
Select a color scheme that complements your design. Consider the mood you want to convey and how your skin will look in different lighting conditions within the game. Our tool offers a wide range of color options to help you achieve the perfect look.
4. Creating the Base Design
Use our digital design tools to start creating the base of your skin. Begin with larger shapes and patterns, then gradually add more detail. Remember to consider how the design will wrap around the weapon model.
5. Adding Details and Textures
Once you have your base design, start adding finer details and textures. This could include subtle patterns, wear and tear effects, or intricate line work. Our tools provide various brushes and effects to help you achieve the desired look.
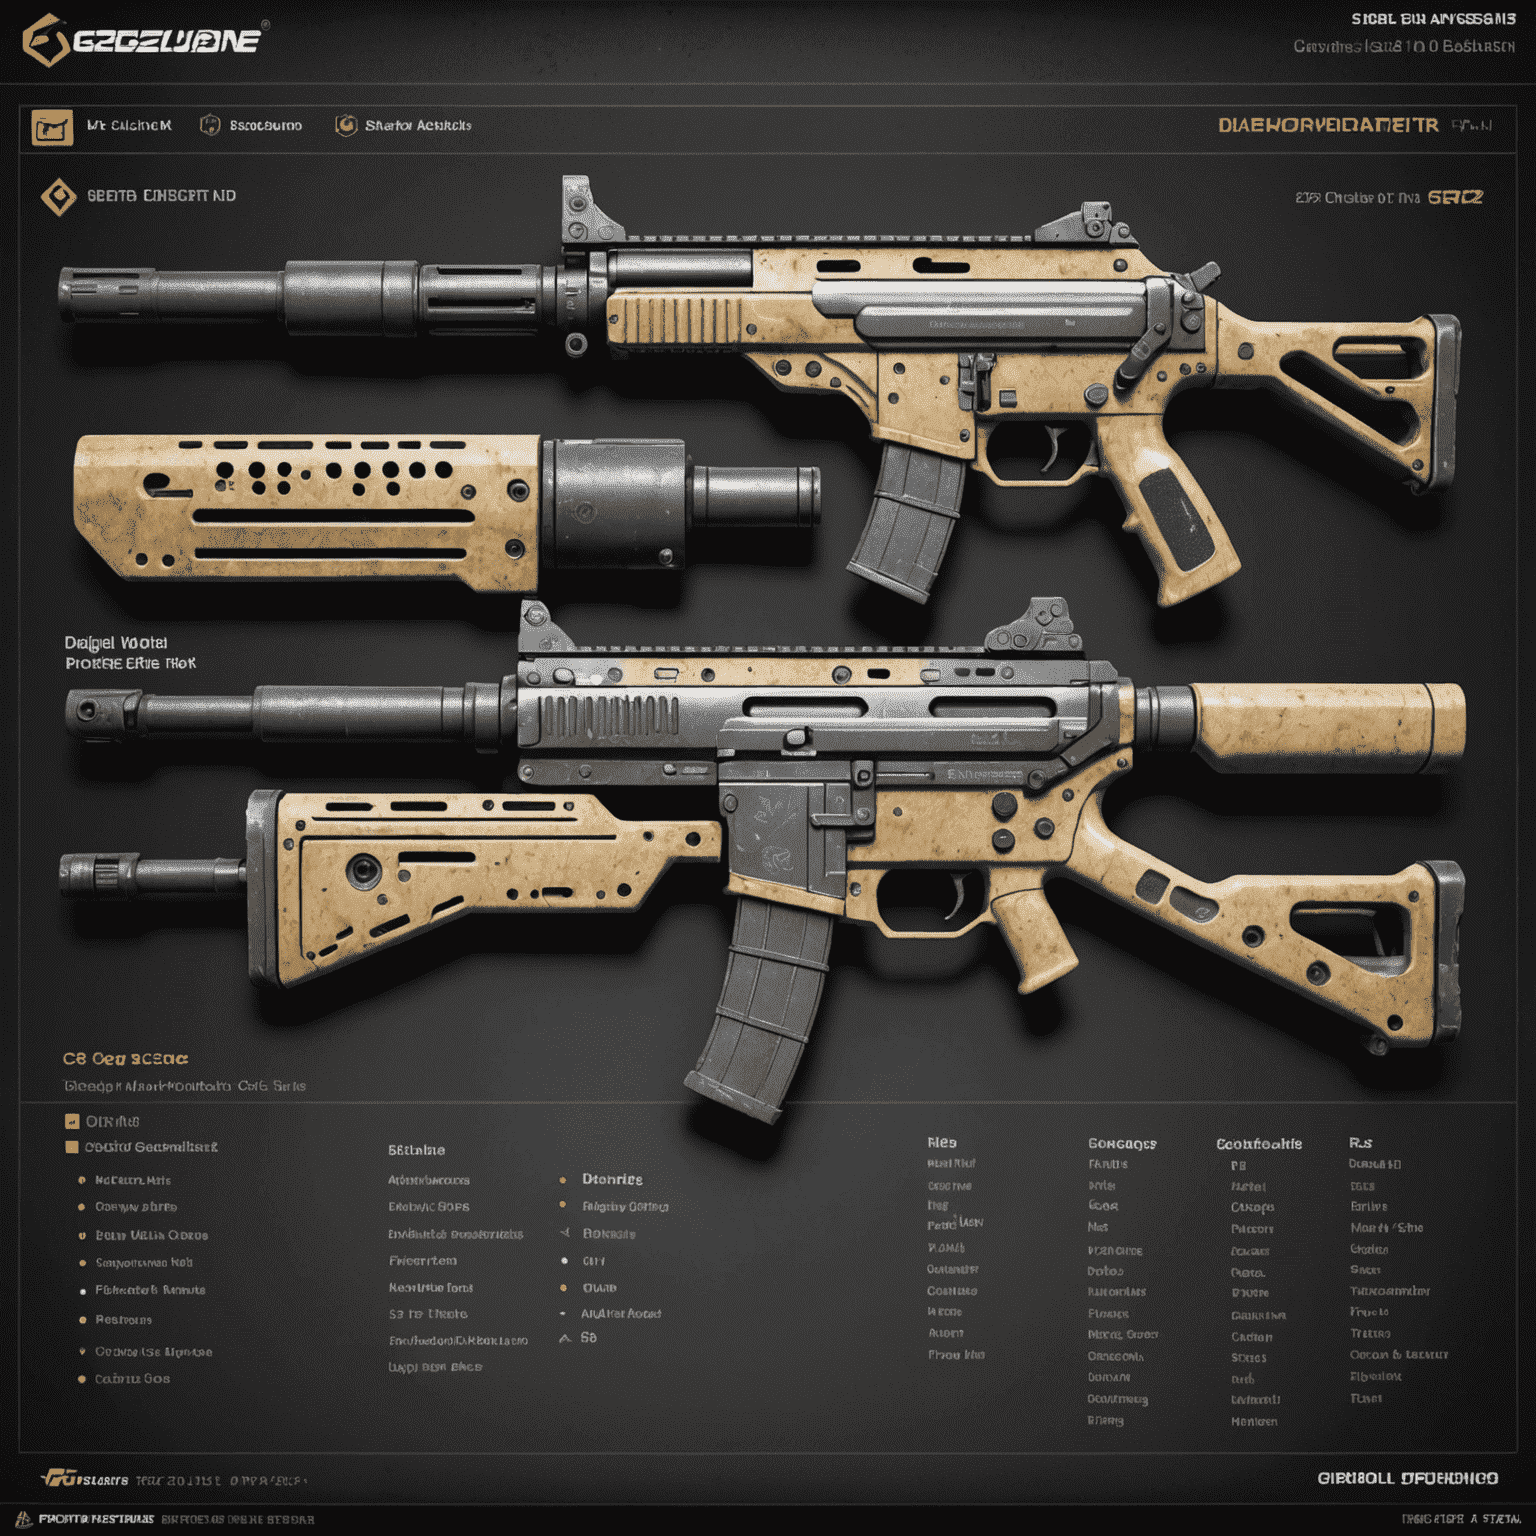
6. Applying Finishes
Experiment with different finishes such as matte, glossy, or metallic to enhance your design. These can dramatically change the look of your skin and how it reacts to light in the game environment.
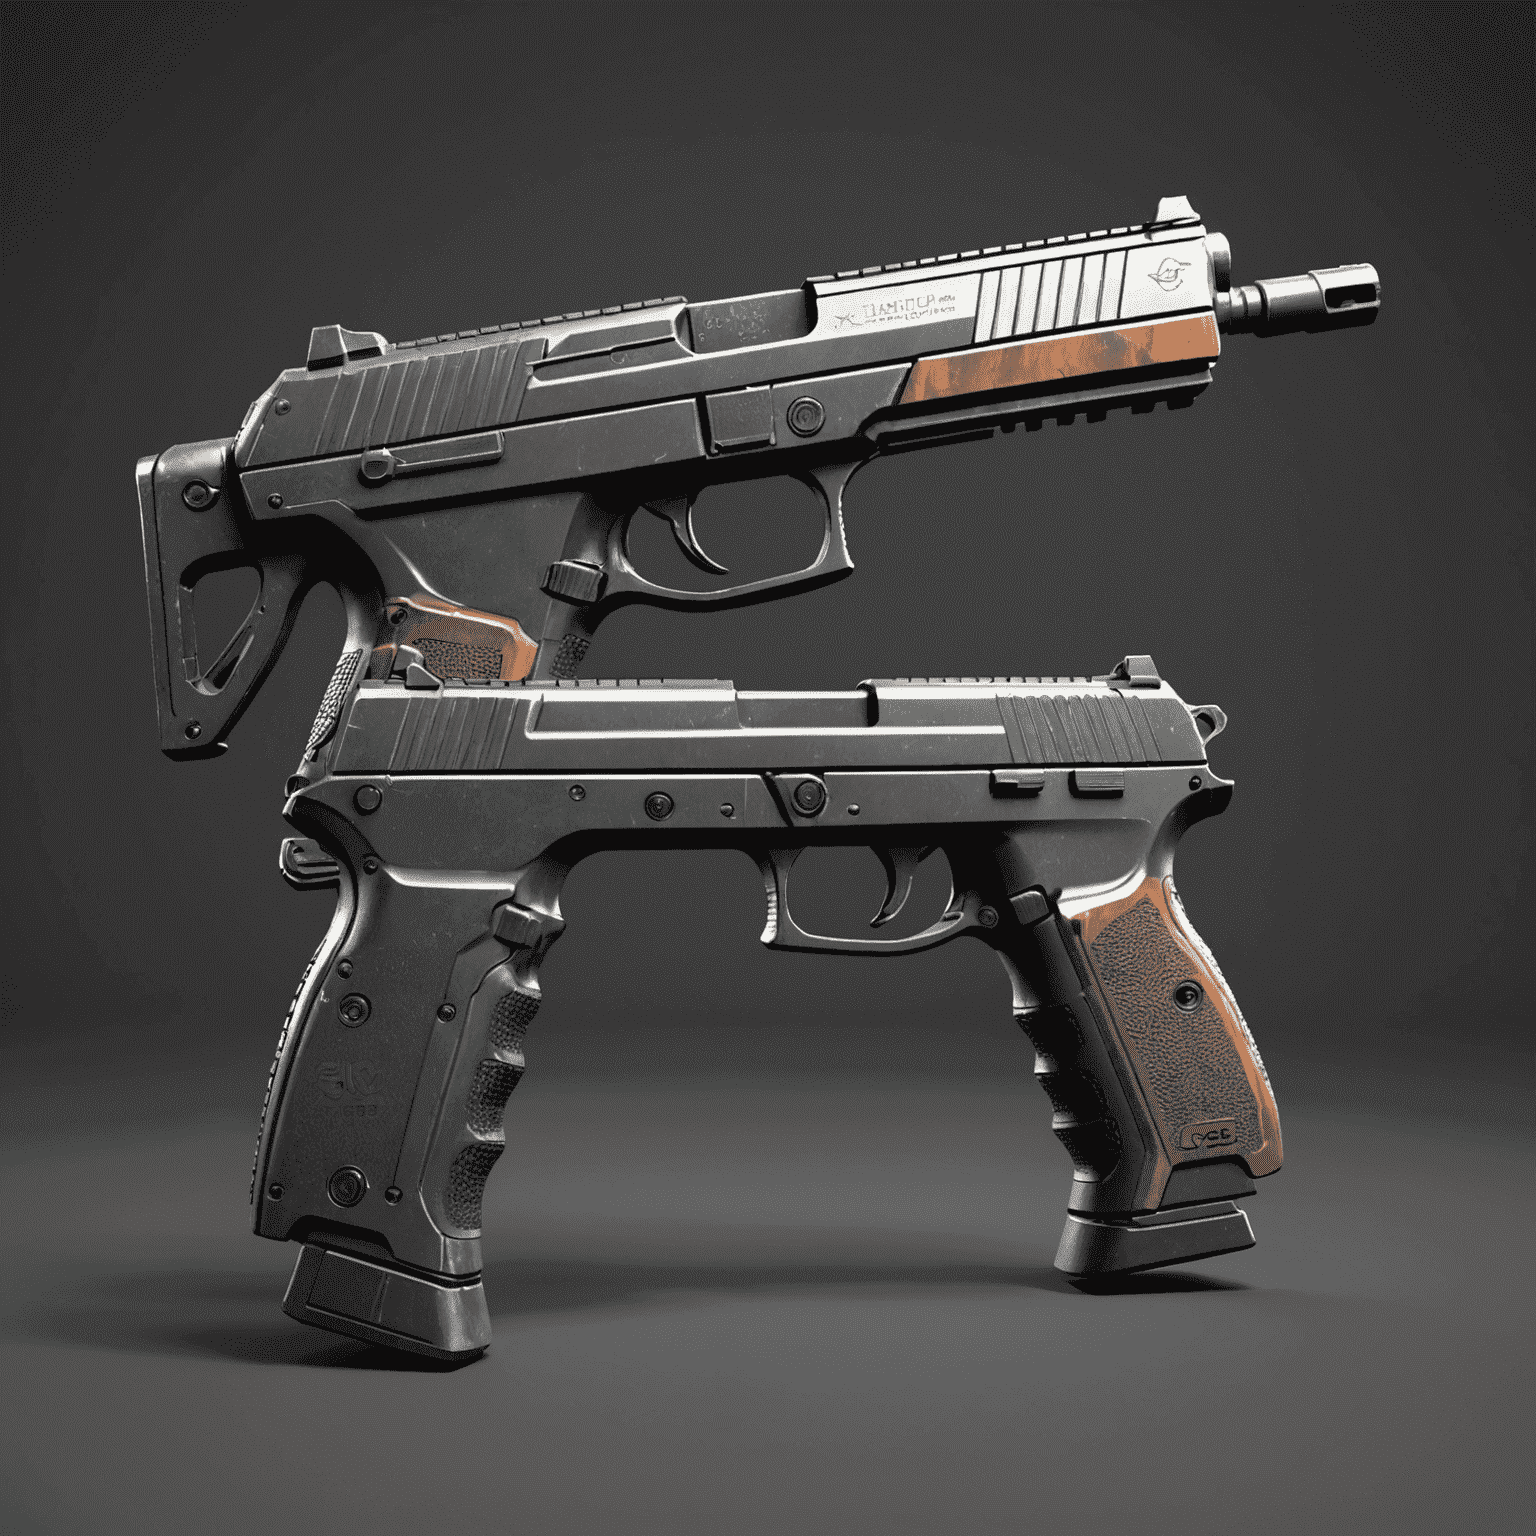
7. Testing and Refining
Use our 3D preview tool to see how your skin looks on the actual weapon model. This will help you identify any areas that need adjustment. Don't be afraid to iterate and refine your design until you're completely satisfied.
8. Finalizing Your Creation
Once you're happy with your design, it's time to finalize it. Make sure all elements are properly aligned and that the skin looks good from all angles. Give your creation a unique name that reflects its design or inspiration.
Conclusion
Creating your own CS2 skin is a rewarding process that allows you to express your creativity and stand out in the game. With our customization tools and this guide, you're well-equipped to design a skin that's truly one-of-a-kind. Remember, the key to a great skin is originality and attention to detail. Happy designing!